
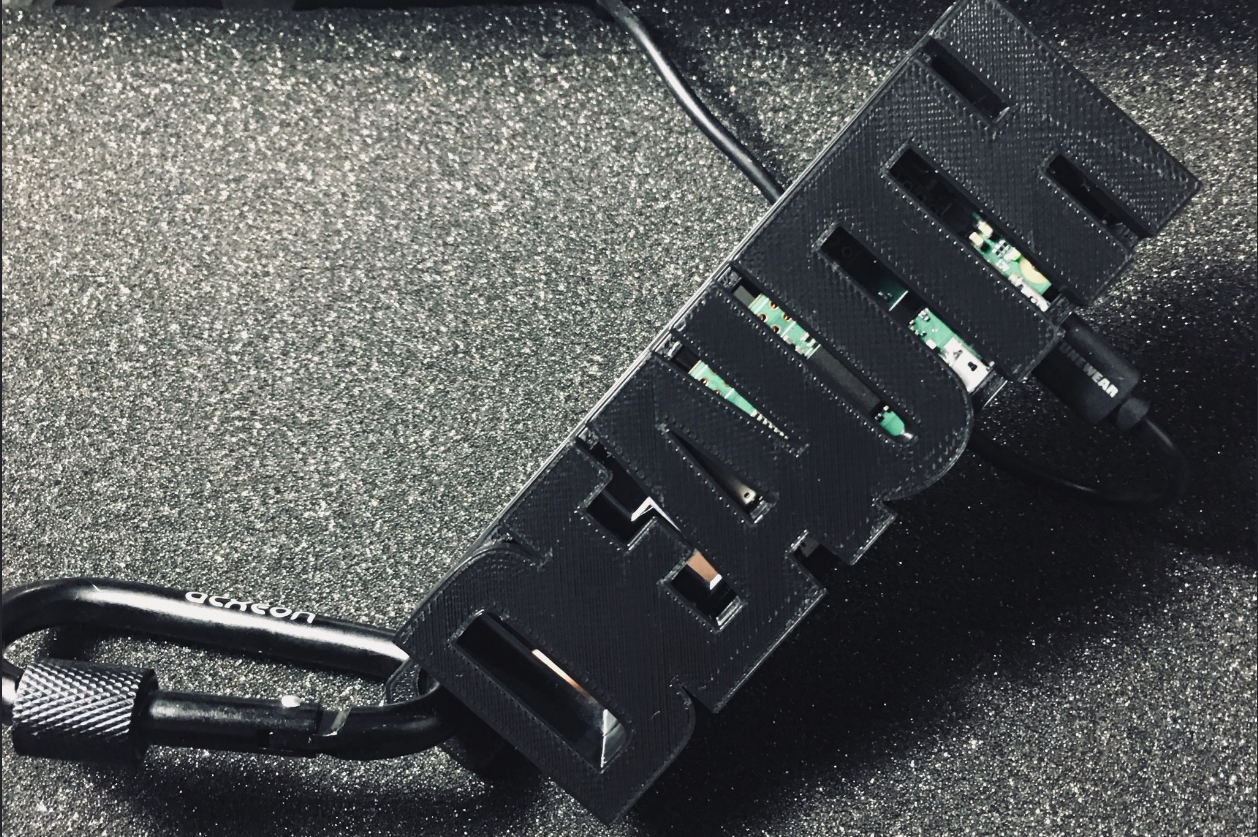
A few days ago I started playing with some idea I had from a few weeks already, using a Raspberry Pi Zero W to make a mini WiFi deauthenticator: something in my pocket that periodically jumps on all the channels in the WiFi spectrum, collects information about the nearby access points and their connected clients and then sends a deauthentication packet to each one of them, resulting in some sort of WiFi jammer on the 802.11 level. As an interesting “side effect” of this jammer (the initial intent was purely for the lulz) is that the more it deauths, the higher the changes to also sniff WPA2 handshakes.
Thanks to the awesome work of the Kali and Nexmon communities in packaging the nexmon drivers and utilities and to the recent changes we released in bettercap, this was very easy to setup and to script and given the interest the tweet had I thought to share this writeup :)
[0x00] FAQ
Why not using Nethunter or some other Kali image for Android and a smartphone instead?
Monitor mode works, injection doesn’t. Using an external WiFi makes the whole thing bigger and kills the battery.
Why not using … instead?
There are many alternatives to the setup I’m going to describe, it’s not necessarily the best, just the one that works for me.
Why …?
BECAUSE. The point of this post is not just the hardware, but mostly how to use bettercap to attack wifi.
[0x01] Kali image and initial headless configuration.
First thing first, you’ll need to download the Kali Linux Rpi0w Nexmon image from this page and burn it to the uSD card you’re going to use for the rpi using the usual dd method, but before unmounting it, we need to enable SSH at boot and configure it to connect to our home WiFi network for the initial configuration, keep in mind this is just temporary and the main wifi interface will be used for packet injection later, while we will be able to connect via bluetooth to the board.
From the computer you used to burn the image on your micro sd, mount it again if needed and then:
1 | # this will enable ssh at boot |
Fill this file with the following contents:
1 | auto lo |
Now we’ll add the details of the WiFi network we want the rpi to connect automatically for configuration:
1 | nano /sd-mount-point/etc/wpa_supplicant/wpa_supplicant.conf |
And add this:
1 | country=GB |
Reboot the RPI and it should connect to your WiFi, search for its IP address (either by broadcast ping, or using bettercap itself, i usually use the netmon caplet to see what’s going on on my network) and finally SSH to it using the default Kali credentials:
1 | # this will allow you to login with your SSH key instead of a password |
Once you’re logged in:
1 | # always change the default root password |
Fix the bluetooth configuration file /etc/systemd/system/bluetooth.target.wants/bluetooth.service by disabling the SAP plugin that would break bluetooth, change the ExecStart part with:
1 | ExecStart=/usr/lib/bluetooth/bluetoothd --noplugin=sap |
Let’s set the bluetooth name of your device by editing /etc/bluetooth/main.conf and finally edit the btnap configuration file itself, /etc/btnap.conf:
1 | MODE="server" |
Enable all the services at boot and restart them:
1 | systemctl enable bluetooth |
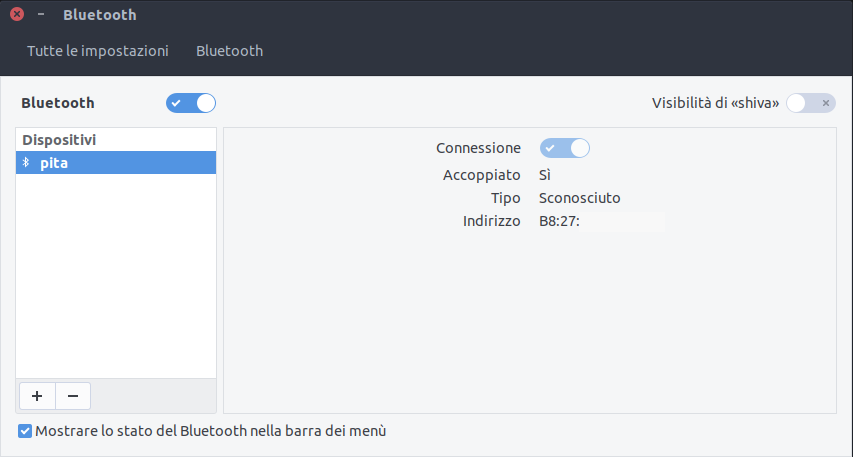
Before being able to connect via bluetooth, we need to manually pair and trust the device we’re going to use (remember to repeat this step for every new device you want to allow to connect to the PITA board), make sure your control device (your laptop for instance) has bluetooth enabled and it’s visible, then from the pita:
1 | bluetoothctl |
We’re now ready to “free” the wlan0 interface and use it for more cool stuff, let’s change the file /etc/network/interfaces to:
1 | auto lo |
From the board now, disable wpa_supplicant and reboot:
1 | service wpa_supplicant disable |
After reboot, you’ll be able to connect to the board via bluetooth.
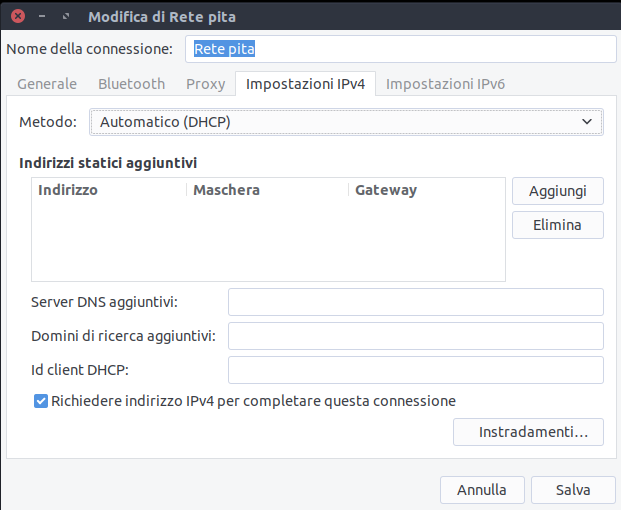
Your system (this depends on the system you’re using, on most GNU/Linux distributions and Android this is basically automatically detected) should now have a new DHCP based Pita Network entry in the network manager:
Once connected, you should see a new bnep0 network interface:
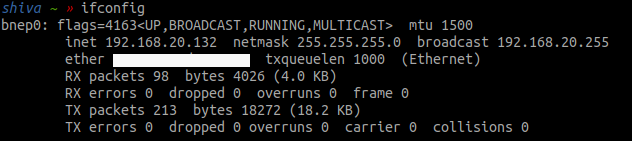
You can finally ssh to your PITA board via bluetooth now :)
1 | echo "192.168.20.99 pita" >> /etc/hosts |
[0x03] Having fun with wlan0 and bettercap
IMPORTANT
In order to install bettercap and download the caplet, you will need internet connectivity on the rpi, but we just freed wlan0 for injection, so you’ll either have to plug some ethernet adapter, smartphone in tethering mode, etc on the mini usb port now, or perform these steps while the board is still connected to your WiFi during section 0x01.
Now that we can power our board either from a powerbank or the smartphone itself and we can connect to it via SSH over bluetooth, the next step is to install bettercap itself, we will compile it directly on the PITA, it’ll take a while but it’s very easy:
1 | apt install golang libpcap-dev libnetfilter-queue-dev wget build-essential |
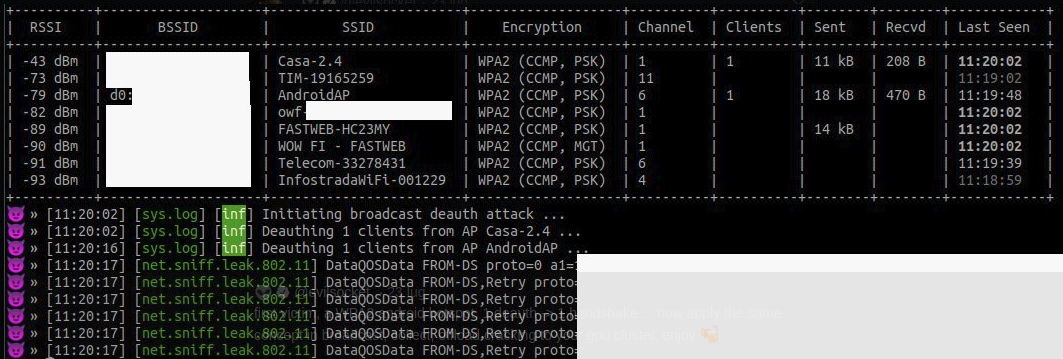
The pita.cap caplet will take care of starting wlan0 in monitor mode, periodically send deauth packets and also sniffing for WPA2 handshakes as they arrive, you can launch it and keep it persistent with something like screen or tmux. It is a basic example of what you can do now, many other functionalities can be found in the caplets repo and generally in the project wiki:
1 | # More info about this caplet: https://twitter.com/evilsocket/status/1021367629901115392 |
To start bettercap with this caplet:
1 | ifconfig wlan0 up |
Just after a few minutes my prototype was able to deauth and capture the handshake of some device:
I hope I did not forget about any step, the btnep part specifically was a little bit tricky to setup, let me know in the comments if something doesn’t work for you and I’ll try to help and fix this writeup, as usual, enjoy!
